Understand the mechanical differences between relaxing into a stretch and generating tension at your limit. This comparison explains why your nervous system blocks deeper ranges without muscular support.
Many adult movers spend months or years wedging themselves between yoga blocks, sinking into low lunges, and hoping gravity will pull them into a flat front split. Passive stretching feels productive because it creates a deep, burning sensation through the hamstrings and the trailing hip flexors. Yet after weeks of sitting in these end-range shapes for two minutes at a time, standing back up often reveals that your functional hip extension and flexion have barely shifted. The floor feels just as distant during the next training session as it did during the first.
The limitation rarely stems from short muscle fibers or stiff connective tissues alone. True mobility requires both tissue tolerance and neurological control. A passive front split relies on external forces like body weight, props, or a partner to force joints into an open angle. Active flexibility, by contrast, relies on your own muscular contractions to pull the joints into that same position while stabilizing the pelvis. Distinguishing between passive tissue deformation and active neuromuscular control changes how you prepare your hips, dramatically reduces the risk of hamstring tendon avulsion, and makes your range usable outside of a static stretch mat.
What Happens in a Passive Split Position
When you slide your front heel forward and back knee backward using only your body weight to sink lower, you place the anterior hip of the rear leg and the posterior hip of the front leg under tensile stress. In this passive scenario, the muscles are unweighted and relaxed as much as you can tolerate. The mechanical load transfers away from the muscle bellies and onto non-contractile structures: joint capsules, iliofemoral ligaments, the labrum of the hip socket, and the proximal hamstring tendon where it inserts onto the ischial tuberosity.
This structural bypass creates two specific mechanical problems. First, without active muscular engagement, the pelvis tilts forward into an extreme anterior tilt to avoid bony impingement between the femoral neck and the acetabulum. This pelvic tilt gives the illusion of a deeper split, but it actually compresses the lumbar spine and slackens the iliopsoas, the very muscle group that needs controlled length. Second, resting on passive tissues under full body weight stresses the hamstring origin point. Sustained passive holds under heavy tensile loads can lead to high hamstring tendinopathy, an overuse injury characterized by dull, stubborn sitting pain that often takes 6 to 18 months to resolve.
| Characteristic | Passive Front Split | Active Front Split |
|---|---|---|
| Primary Force Source | Body weight, gravity, or external props | Reciprocal contraction of agonist muscles |
| Pelvic Alignment | Tends toward unchecked anterior pelvic tilt and spinal lordosis | Maintained neutral or square pelvis via core and glute control |
| Tissue Load Distribution | Concentrated on proximal tendons, ligaments, and joint capsules | Distributed through active muscle bellies and connective tissues |
| Retention of Range | Short-lived, often dissipates within 30 to 45 minutes | Higher long-term retention due to motor pattern encoding |
| Joint Stability | Low, vulnerable to sudden subluxation or microtrauma | High, protected by active co-contraction around the hip joint |
Passive flexibility does have a minor physiological role: it introduces your sensory system to prolonged end-range sensations and desensitizes the brain to the stretch stimulus. However, resting passively does not build tissue capacity at those outer boundaries. If a muscle cannot produce force while extended, the nervous system recognizes that position as inherently unstable, which sets off protective responses the moment you leave the floor.
Why the Nervous System Tightens Guarding Reflexes
Your body prioritizes joint integrity over your aesthetic goals. Deep inside every skeletal muscle are specialized proprioceptors called muscle spindles, aligned parallel to the muscle fibers. When a muscle lengthens quickly or reaches an unfamiliar end range, these spindles fire rapid sensory signals to the spinal cord. In response, the spinal cord triggers the myotatic reflex, also known as the stretch reflex, causing the muscle to contract to prevent over-lengthening and tissue tearing.
Simultaneously, the Golgi tendon organs, located at the junction between muscle fibers and tendons, monitor tension. If tension spikes to levels the system deems unsafe, these organs can cause the muscle to yield, but the overriding sensation is neurological muscle guarding. The brain essentially applies the internal brakes. When you push passively into a split, your nervous system registers vulnerability: if you were forced to scramble out of that shape quickly, you lack the contractile force to do so. To protect your sciatic nerve and hip joints from trauma, the brain responds by increasing baseline muscle tone, making you feel tighter the following day.
Overriding this neurological resistance requires convincing the brain that your joints are safe at their structural limits. The nervous system measures safety through stability and control. When you demonstrate that you can produce force, bear load, and dynamically pull yourself into an extended position, the brain lowers its protective muscle guarding thresholds. You trade passive tolerance, which relies on enduring discomfort, for active neurological clearance, which grants range because the body knows it can support itself.
Strengthening the Antagonist Muscle Groups
Developing active flexibility requires the application of reciprocal inhibition. When an agonist muscle contracts with intent, the central nervous system sends an inhibitory signal to its antagonist, signaling it to relax and lengthen. In the context of the front split, your ability to lengthen the front hamstring depends directly on the contraction of your front quadriceps and hip flexors. Similarly, your ability to lengthen the back hip flexors depends on the active engagement of your back gluteus maximus and hamstrings.
If you lack the strength to actively pull your front thigh toward your chest using your rectus femoris and psoas, your hamstring will hold tension as a compensatory stabilizer. In the rear leg, if your glute cannot fire to produce genuine hip extension past neutral, your hip flexors will remain stiff to stop your pelvis from collapsing forward. Active split training flips the focus: instead of focusing on how much you can stretch the back of the front leg and the front of the back leg, you train the working muscles to pull you down with strength.
- Hip Flexion Strength (Front Leg): The psoas major, iliacus, and rectus femoris must actively compress the femur toward the torso. Building strength here forces the front hamstring to release tension via reciprocal inhibition while keeping the hip seated back in the socket.
- Hip Extension Strength (Rear Leg): The gluteus maximus must contract firmly to drive the rear femur behind the pelvis. A contracted glute signals the psoas and rectus femoris of the trailing leg to lengthen safely without pulling the lumbar spine into deep extension.
- Adductor and Pelvic Floor Stability: The adductor magnus and pelvic floor muscles work together to control the lateral rotation of the legs, keeping both hip bones tracking squarely forward rather than splaying open toward the side.
By strengthening these antagonist muscles throughout their shortened ranges, you change the nature of the split. The movement becomes an active clamp where the front quad pulls upward and the back glute drives downward, creating an active, self-supported scissor action rather than a dead-weight sink into connective tissue.
Sample Active Drills for Hip Flexors and Hamstrings
Perform these drills two or three times per week after a general warm-up that raises core temperature. Use controlled repetitions and pay attention to pelvic position. If you have an existing hip impingement, labral repair, or tendon issue, consult a physical therapist before trying these loaded ranges.
End-Range Front Leg Quad Extensions
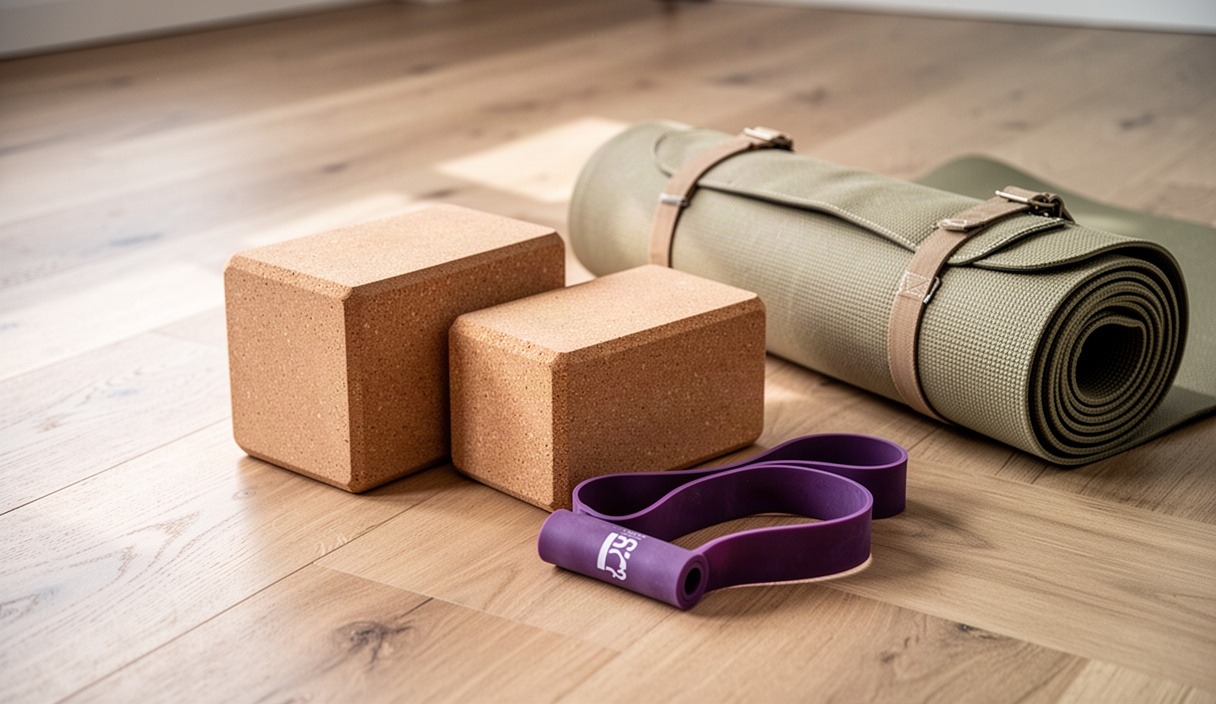
Sit upright on the floor with your back against a solid wall to prevent backward leaning. Extend your target leg out straight in front of you and place a yoga block on its lowest setting just outside your ankle. Sit tall, square your shoulders, and brace your abdomen.
- Lock the knee of the working leg fully by contracting the quadriceps until the heel lifts 1 to 2 inches off the floor.
- Maintaining that knee lock, lift the entire leg upward and across the yoga block, clearing its height without touching it.
- Tap the heel down lightly on the far side of the block, then immediately lift it back over to the starting position.
- Complete 3 sets of 8 to 10 controlled repetitions per leg, resting 45 seconds between sets. Keep your torso fixed against the wall throughout the entire movement.
Active Rear-Leg Psoas Glute Bridges
Set up in a standard half-kneeling lunge, with your front knee at a 90-degree angle and your back knee resting on a folded mat directly below your hip. Tuck your back toes under. Place your hands on your hips to monitor pelvic tilt.
- Engage your deep abdominal muscles and perform a posterior pelvic tilt, flattening your lower back by tucking your tailbone under.
- Squeeze the glute of the back leg as hard as possible, pushing the front of your rear hip forward until you feel a firm stretch in the rectus femoris and psoas. Do not allow your lower back to arch.
- While maintaining this glute squeeze, lift the back knee 1 to 2 inches off the floor simply by extending the hip and straightening the knee slightly, bearing weight on your back toes.
- Hold this hover for 6 seconds while sustaining maximum glute contraction, then lower down under control. Perform 4 sets of 5 repetitions per side.
Eccentric Sliding Split Lowers
Place a sliding disc, furniture slider, or towel under your front heel on a slick floor. Stand tall with your feet hip-width apart. Keep your torso upright and square.
- Begin sliding your front heel forward while actively pulling back with your rear leg, resisting the descent using your front hamstring and rear hip flexor.
- Lower down under strict tension for a steady count of 4 to 5 seconds until you reach roughly 80 percent of your maximum split depth.
- Once you reach this depth, drive your front heel into the floor and pull it backward toward your body while simultaneously squeezing your back glute to slide back up to the starting standing position.
- Perform 3 sets of 4 to 6 repetitions. If you cannot pull yourself up out of the descent without using your hands, place two sturdy chairs or parallettes on either side of your body to bear a portion of your weight during the return phase.
Common Mistakes in Splits Training
One frequent error is opening the hips to the side to touch down faster. When the rear hip rotates outward, the leg splays and the pelvis no longer faces forward. This relieves tension on the back hip flexor and transfers it to the medial knee ligament and the adductors. It changes the exercise from a true front split into an uneven straddle split, which does not build clean linear hip extension.
Another common mistake is relaxing completely into passive end ranges at the very end of an intense strength workout. When your muscles are thoroughly fatigued, their protective contractile capacity is depleted. Sinking into long, limp passive holds in this state forces exhausted joints to hang directly off your ligaments and labrum. This habit often leads to deep hip inflammation and tendon irritation rather than real mobility gains.
Finally, many movers ignore the role of the spine. An extreme lumbar arch is often used to cheat poor hip extension. If your lower back is pinching while you work on the rear leg, your hip flexor is not lengthening; instead, your lumbar spine is hyperextending to compensate for a stuck hip. Real hip extension happens at the acetabulofemoral joint, not the L4-S1 vertebrae.
Next Steps for Sustainable Split Training
To turn passive flexibility into active, usable range, adjust your weekly programming. Replace long, unfocused passive stretching sessions with targeted, 20-minute active sessions three days per week, allowing at least 48 hours between workouts for tendon recovery.
Start each session with unloaded hip mobility drills, such as controlled articular rotations, to prepare the joint capsule and stimulate synovial fluid production. Move directly into your antagonist strength work, pairing heavy end-range knee extensions with loaded hip thrusts or reverse lunges. Finish with loaded eccentric drills, such as the sliding split lowers, working strictly within ranges where you can produce force and return without pain.
Keep a detailed training log tracking concrete markers: the height of the yoga block you can clear with a straight leg, the duration you can hold a kneeling hip hover, and the depth you can control during an eccentric slide. Consistent strength at your end range will quiet protective reflexes, build tendon resilience, and give you splits you can step into and out of with control.
This material is for educational purposes only: consult a licensed physical therapist or physician before beginning an intense stretching regimen. Disclaimer