
Identify warning signs such as lingering hamstring tendon pain and lack of pelvic control during practice. Use this checklist to adjust training frequency and protect your connective tissue.

A front split is often treated as a simple test of hamstring and hip flexor length, but progress rarely follows a straight line. Many athletes spend months lowering themselves toward the floor, only to find that their range stops changing or their joints begin to ache. When progress halts, the instinct is usually to push harder, hold positions longer, or stretch every single day. In reality, a plateau usually indicates that the mechanics of the stretch have broken down or that the connective tissues are being loaded past their capacity to recover.
Auditing a split routine means shifting focus from how close your hips are to the floor to how your tissues and joints manage the load. A productive training cycle develops active control, protects the pelvic floor and deep hip stabilizers, and respects the slow adaptation rate of dense tendons. If your current split practice feels gritty, causes pinches in the back of the knee, or leaves you stiffer on day two than on day one, your routine needs an immediate structural review.
Assessing Pelvic Alignment Before Depth
The most common error in a front split routine is prioritizing ground contact over a neutral pelvis. When the rear hip flexor (primarily the psoas major and rectus femoris) lacks adequate length, the pelvis instinctively rotates outward toward the side of the rear leg to escape the stretch. This turns a true sagittal split into an open, diagonal shape. While this cheat drops the pelvis closer to the floor by two to four inches, it transfers torsional stress into the lumbar spine and the sacroiliac joint, while taking the load off the very muscles you intended to train.
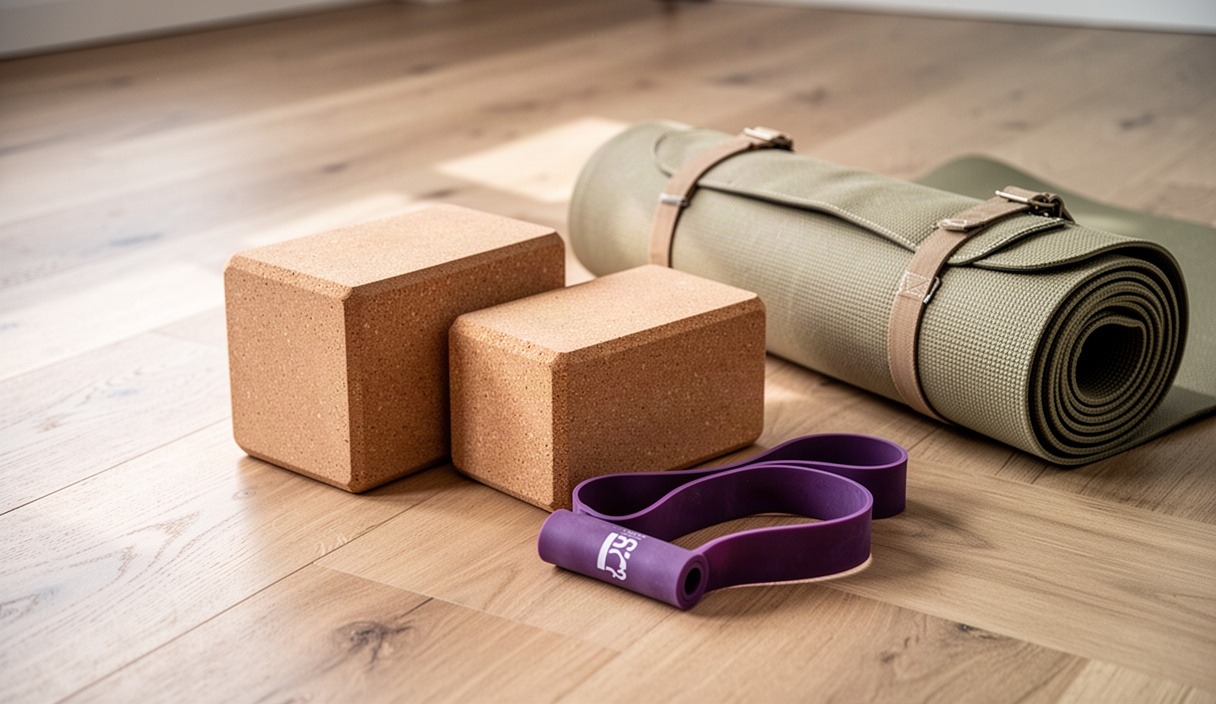
To audit your pelvis, set up two yoga blocks on their highest setting beneath your hands. Before extending your front leg, check the position of your two anterior superior iliac spine (ASIS) points, the prominent bony landmarks on the front of your hips. Both points must face directly forward, like headlights on a vehicle. If the back hip drifts behind the front hip by more than a few degrees, your pelvis has rotated. You must square the hips by pulling the front femur head back into its socket while rolling the rear inner thigh up toward the ceiling.
Another common mechanical flaw is an excessive anterior pelvic tilt, where the tailbone flares backward and the lower abdomen spills toward the floor. This posture places the hamstrings under high passive stretch at the ischial tuberosity before the legs even begin to slide out. To correct this, follow these alignment checkpoints during your setup:
- Engage the lower abdominals: Draw the navel gently toward the spine to bring the pelvis into a neutral or slight posterior tilt before sliding out.
- Tuck the back toes under: Keeping the back toes tucked rather than flat on the laces forces the rear hip into internal rotation, which keeps the pelvis square.
- Squeeze the rear glute: A firm contraction of the gluteus maximus on the back leg sends a reciprocal inhibition signal to the hip flexors, encouraging them to open without pulling the lower back into hyper-lordosis.
- Support your weight through your hands: Place enough downward pressure into blocks or chairs so your pelvic floor and hamstrings do not spasm in defensive guarding.
If you cannot maintain square hips within six inches of the floor, place a bolster or stacked yoga blocks directly under your front hamstring and rear thigh. Sitting on a sturdy support allows your nervous system to down-regulate muscle tension while maintaining proper skeletal alignment.
Tracking Tendon Sensation Versus Muscular Tension
A successful split routine targets the muscle belly rather than the tendon junctions. Muscle tissue has a rich vascular supply and adapts relatively fast to stretching and eccentric loading. Tendons and ligaments, by comparison, have low metabolic activity and receive significantly less blood flow. When athletes ignore the distinct sensations produced by these different tissues, they risk developing proximal hamstring tendinopathy or adductor strains that can take six to twelve months to heal.
You must teach yourself to identify where the stretch is felt. If you feel a broad, warm tension across the center of your rear thigh or the front of your back hip, you are targeting the muscle belly. This is safe, productive tension. Conversely, if you feel a sharp, cold, or burning sensation right at the sit bone (the ischial tuberosity), behind the knee joint, or in the front crease of the hip capsule, you are compressing or over-stretching non-contractile tissues.
| Factor | Muscular Tension (Safe) | Tendon / Joint Irritation (Unsafe) |
|---|---|---|
| Location | Center third of the thigh or hip flexor | Directly at the sit bone, knee crease, or groin joint |
| Sensation Quality | Broad, dull ache, gentle pulling | Sharp, hot, pinch, electrical, or localized ache |
| Post-Session Response | Mild, generalized soreness for 24 hours | Stiff ache when sitting on hard chairs or climbing stairs |
| Immediate Correction | Hold position and maintain diaphragmatic breath | Micro-bend the knee, elevate hips on blocks, or stop |
Sensations felt directly behind the knee typically indicate tension on the sciatic nerve or strain on the distal hamstring insertions, rather than tight muscles. To relieve this nerve tension without sacrificing your practice, point the front foot slightly (plantarflexion) instead of pulling the toes hard toward your shin, and introduce a five-degree bend to the front knee. If you experience persistent, sharp pain near the sit bone that lingers during everyday sitting or walking, pause all end-range stretching and consult a physical therapist or sports medicine physician for a clinical evaluation.
Balancing Weekly Frequency and Tissue Rest
A frequent error among flexibility enthusiasts is treating stretching as low-impact activity that can be performed seven days per week. While gentle mobility work and joint flossing can be done daily, training high-threshold, end-range positions like the front split imposes high mechanical stress on connective tissues. When you sink into a split, your tendons undergo micro-deformation. Without sufficient time between sessions, this deformation accumulates into chronic inflammation rather than tissue remodeling.
For most bodies, high-intensity split training should be limited to two or three sessions per week, with at least 48 to 72 hours of recovery between workouts. During those rest periods, collagen synthesis repairs the micro-disruptions in the fascial network. Training through deep soreness blunts this adaptive process and causes the nervous system to tighten surrounding muscles to protect the joints.
A productive weekly routine separates high-intensity passive or loaded stretching from general movement maintenance:
- Monday (High Intensity): 40 minutes of targeted split work, including active end-range contractions and loaded Jefferson curls.
- Tuesday (Active Recovery): Low-intensity movement, such as walking, gentle hip circles, and light core work, without touching deep stretch positions.
- Wednesday (Rest or Upper Body): No lower-body flexibility drills.
- Thursday (High Intensity): 40 minutes of split training, focusing on pelvic alignment, rear hip extension, and block-supported holds.
- Friday (Active Recovery): Gentle mobility flow, glute activation drills, and joint rotations.
- Saturday (Optional Moderate Session): Dynamic stretching and light active flexibility drills, keeping holds under 15 seconds.
- Sunday (Complete Rest): Full tissue recovery.
If you track your range of motion and notice that you are significantly tighter at the start of a session than you were at the start of the previous one, your tissues have not recovered. More rest, better sleep, and proper hydration will advance your split faster than forcing stiff tissues into deep positions.
Modifying Exercises When Stalling Occurs
If your front split has not deepened for four consecutive weeks, repeating the same static holds will rarely yield new progress. The nervous system adapts quickly to static demands; once it perceives a certain threshold as the limit of safety, it engages the stretch reflex to halt further movement. To overcome this protective brake, you must exchange passive resting holds for active strength drills and varied joint angles that build motor control at the boundary of your current range.
Static stretching increases your tolerance to the sensation of being stretched, but active flexibility teaches your central nervous system that you have the muscular strength to stabilize the joint safely. When your brain recognizes that you can pull yourself out of a deep position under your own power, it releases muscular tone and permits greater range.
Incorporate these three exercise modifications into your routine for four weeks to restart progress:
- Loaded PNF Contract-Relax: Lower into your supported split on blocks. Once you reach your comfortable maximum, press the front heel and the rear knee down into the floor as if trying to scissor your legs together. Hold this contraction at roughly 60 percent effort for 8 to 10 seconds. Inhale deeply, exhale, release the contraction, and allow your hips to sink one-half inch deeper for 20 seconds. Repeat this cycle three times per leg.
- Front-Leg Eccentric Sliders: Place your front foot on a furniture slider or a towel on a slick floor. Keep your hands on blocks. Slowly slide the front foot forward over a four-second count, controlling the descent using your front hamstring and rear glute. Once you reach your maximum active depth, press your hands firmly into the blocks, pull the front heel back to the starting point, and repeat for 4 sets of 5 repetitions.
- Rear-Foot Elevated Active Lunges: Place the top of your back foot on a bench or chair with your front foot flat on the floor. Drop down into a deep lunge, focusing entirely on extending the back hip while keeping the ribs drawn in and pelvis tucked. From the bottom position, press through the rear foot to rise up two inches, hold for 3 seconds, and lower back down. Complete 3 sets of 6 repetitions per side.
Common Mistakes
Even dedicated athletes fall into movement traps that compromise their split training. Watch for these mechanical and programming errors during your audits:
- Collapsing the front arch: Letting the front foot roll inward twists the tibia and strains the medial collateral ligament of the knee. Keep the front ankle neutral and the knee tracking over the second toe.
- Holding the breath: Breathing through the mouth with short, shallow chest breaths triggers a sympathetic nervous response, increasing systemic muscle tone. Use steady nasal breathing with five-second exhales to down-regulate tension.
- Warming up with static holds: Static stretching cold muscles reduces power output and irritates stiff tendons. Always precede your split routine with 10 minutes of dynamic movement, such as leg swings, bodyweight squats, and glute bridges.
- Ignoring the rear leg: Most people treat the front split as a hamstring exercise and completely neglect back-hip extension. True balance requires equal attention to the rear psoas and rectus femoris.
Next Steps for Your Routine Audit
To implement this audit, stop your current split program for 48 hours to allow baseline inflammation to clear. Begin your next session with a digital camera positioned perpendicular to your mat at hip height. Take a reference photo of your split using your normal setup, then review the image against the markers described above. Look closely at the angle of your back thigh, the rotation of your waistband, and the position of your lower spine.
Next, reduce your total static hold volume by half and substitute two loaded strength movements, such as the contract-relax protocol and eccentric sliders. Track your sensations over the next three weeks in a training log, recording where you feel the tension (belly versus tendon) and your next-day stiffness. If you experience persistent, localized pain near the joints, step away from deep stretching and arrange an assessment with a licensed healthcare professional to address potential structural restrictions before continuing.
This material is for educational purposes only: consult a licensed physical therapist or physician before beginning an intense stretching regimen. Disclaimer